Diagnostic Tests Vector Infographic Design Guide
Communicating complex medical data or genetic testing workflows requires more than just accurate information; it demands visual clarity. Whether you are a healthcare marketer explaining DNA sequencing to patients or an educator teaching laboratory protocols, the way you present information dictates how well it is understood. A high-quality diagnostic tests vector infographic serves as the bridge between raw scientific data and human comprehension. By utilizing scalable vector graphics, professionals can transform dense technical processes into accessible, engaging visual narratives that maintain crispness across everything from mobile screens to large-format printed posters.
Why Vector Formats Matter in Medical Communication
In the realm of health and science presentation design, resolution is non-negotiable. Raster images like standard JPEGs often pixelate when resized, which undermines the professional authority required in medical contexts. The diagnostic tests vector infographic template solves this by providing fully editable EPS, SVG, JPG, and PNG files. This versatility ensures that your linear icons and process timelines look sharp whether they are embedded in a digital annual report or printed on a clinic wall.
Beyond mere resolution, vector formats offer unmatched adaptability. Medical branding guidelines are strict, often requiring specific color palettes and typography. Because these templates are built with vectors, you can adjust stroke weights, recolor icons, and modify layout dimensions without degrading quality. This level of control allows freelancers and agency designers to customize generic assets into bespoke communication tools that align perfectly with institutional identity standards.
Deconstructing the 5-Step Data Visualization Workflow
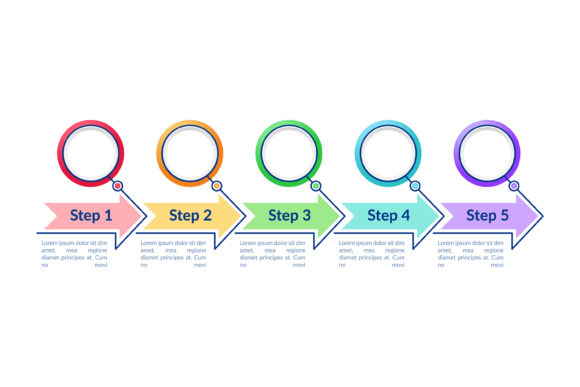
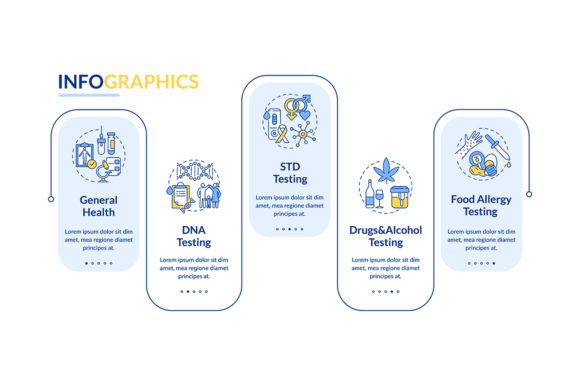
Effective diagnostic infographics rarely dump all information at once. They guide the viewer through a logical progression. The most successful templates utilize a five-step workflow layout that mirrors the actual patient or laboratory journey. Understanding this structure helps creators use the asset more effectively:
- Sample Collection: The visual starting point usually depicts swabs, blood draws, or saliva kits. Clear iconography here reduces patient anxiety by demystifying the initial physical interaction.
- Processing and Preparation: This step illustrates centrifugation, extraction, or amplification. Using linear icons to represent machinery keeps the focus on the action rather than overwhelming the viewer with photorealistic equipment details.
- Analysis Phase: Often the most abstract stage, this requires smart data visualization. Charts, DNA helixes, or microscope views translate invisible chemical reactions into understandable concepts.
- Interpretation: Visualizing how data becomes insight. This might involve comparison charts, risk indicators, or genetic markers being highlighted against a baseline.
- Reporting and Action: The final deliverable. Clean layouts showing result delivery methods or next-step recommendations close the loop and provide closure to the narrative.
When selecting a template, ensure the spacing between these five steps allows for adequate negative space. Crowded medical diagrams cause cognitive overload, whereas balanced layouts facilitate retention and trust.
Practical Applications Across Industries
The utility of a diagnostic tests vector infographic extends far beyond hospital waiting rooms. Entrepreneurs in the biotech startup space frequently use these assets in pitch decks to explain proprietary testing methodologies to investors who may lack deep scientific backgrounds. A clean process timeline chart demonstrates operational maturity and clarity of thought, which are critical signals during fundraising rounds.
Educators and academic publishers also benefit significantly. Textbooks and e-learning modules covering genetics or public health rely on consistent visual language to reinforce learning objectives. Instead of commissioning custom illustrations for every chapter, educators can leverage comprehensive vector packs to create cohesive course materials. The ability to export individual elements as transparent PNGs allows for modular lesson planning where specific icons can be reused across slides, worksheets, and quizzes.
For content creators and health bloggers, these infographics drive engagement. Articles about personal genomics or preventive health screenings perform better when accompanied by original visuals rather than stock photography. A well-designed workflow layout breaks up long-form text, improves dwell time, and increases the likelihood of social sharing. When readers can quickly grasp how a test works visually, they are more likely to trust the accompanying written advice.
Evaluating Quality and Usability
Not all vector templates are created equal. When downloading a ZIP file containing diagnostic assets, evaluate the internal organization before committing to a purchase or download. High-quality packs separate elements logically, grouping icons, timelines, and full compositions into distinct layers or artboards. Poorly organized files waste hours of production time untangling grouped paths and unnamed layers.
Pay close attention to the style consistency of the linear icons. In medical design, mixing outline weights or corner radii creates subtle visual dissonance that erodes professionalism. The best diagnostic tests vector infographic templates maintain uniform stroke widths and geometric precision throughout the entire set. This consistency allows you to mix and match elements from different parts of the template while maintaining a unified aesthetic.
Consider the editability of the text and data visualization components. Some templates flatten charts into static shapes, making updates nearly impossible. Prioritize templates where graphs and timelines are constructed from editable paths and live text. This ensures that when new research emerges or testing protocols change, your assets remain relevant without requiring complete redesigns.
Enhancing User Experience Through Visual Hierarchy
Ultimately, the goal of using these design elements is to improve the end-user experience. Patients navigating health information are often stressed or confused. A cluttered or overly stylized infographic adds to that burden. Effective use of a diagnostic tests vector infographic template prioritizes function over decoration. Color should be used strategically to denote stages or highlight critical warnings, not merely for aesthetic appeal.
Accessibility must also factor into your implementation. Ensure sufficient contrast between icon strokes and background colors. When exporting SVGs for web use, include proper title and description tags so screen readers can interpret the visual content. Alt text for PNG and JPG exports should describe the process depicted, not just label the file name. These considerations expand your audience reach and demonstrate genuine care for user needs.
Integrating these vector assets into your workflow streamlines production while elevating output quality. Whether you are designing a brochure for a new DNA testing service, creating educational content for nursing students, or building a landing page for a telehealth platform, the right visual foundation makes the difference between confusion and clarity. By leveraging scalable, professionally structured templates, you ensure that your message remains precise, accessible, and impactful across every medium.